
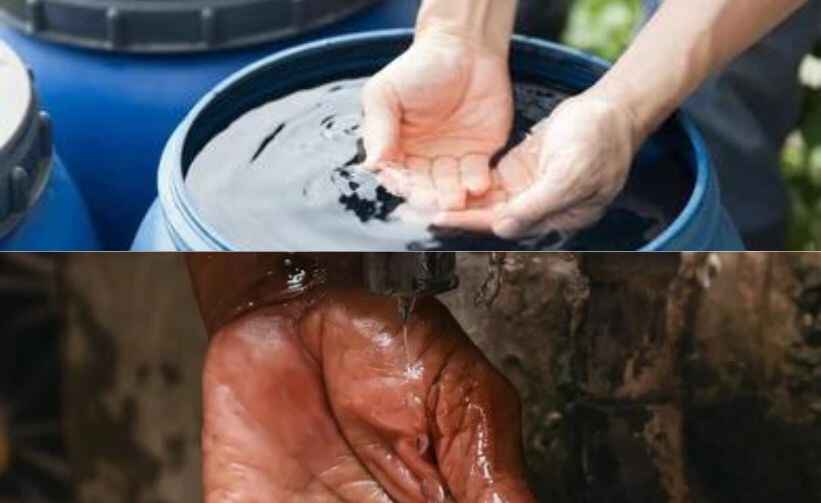

Water conservation has never been more important, as it is a precious resource. Installing water-saving devices in your home not only helps the environment but also reduces your utility bills. If you’re ready to make a positive impact with minimal effort, follow these 10 tips for effectively installing water-saving devices in your home.
1. Understand Your Water Usage
1.1 Assess Your Current Water Consumption
Before diving into installing water-saving devices, it’s crucial to understand your current water usage. Take note of your household’s water consumption patterns. This includes monitoring how much water is used by various appliances and fixtures, such as toilets, faucets, and showerheads.
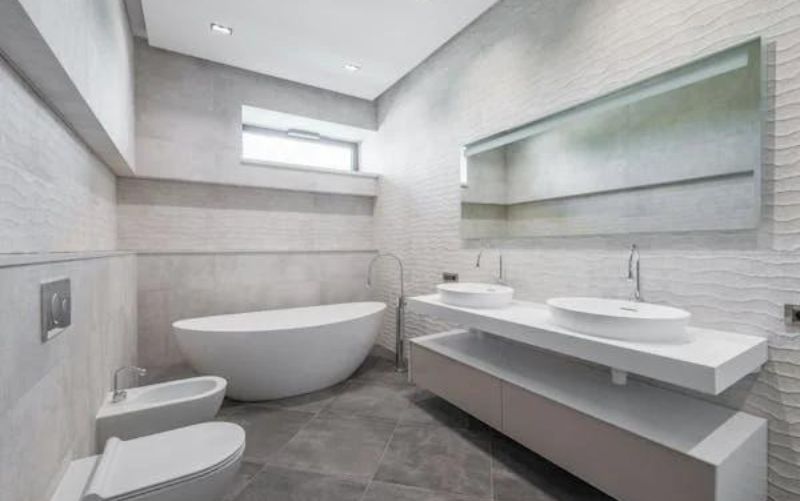
1.2 Identify High-use Areas
Focus on areas with the highest water usage. For many homes, these include the bathroom and kitchen. Identifying these areas helps you prioritize which water-saving devices to install first.
2. Choose the Right Water-Saving Devices
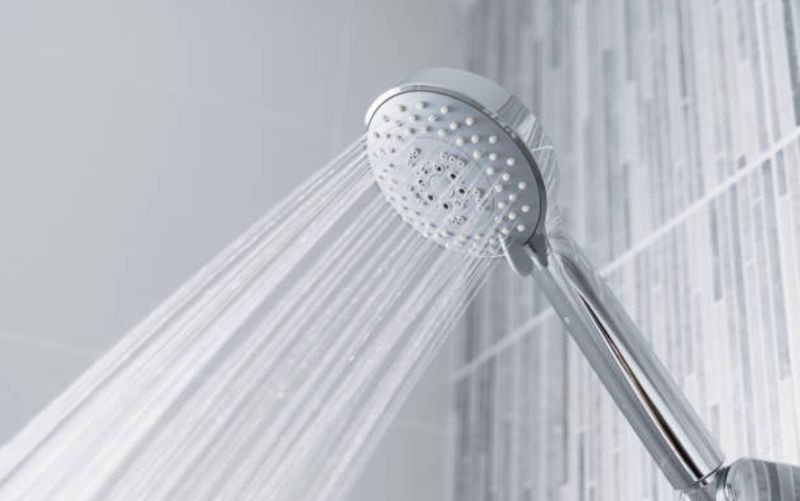
2.1 Low-Flow Showerheads
Low-flow showerheads are designed to reduce the amount of water used during showers without compromising water pressure. Look for models with a flow rate of 2.5 gallons per minute (GPM) or less.
2.2 Water-Efficient Toilets
Traditional toilets can use up to 3.5 gallons per flush. Water-efficient toilets, or low-flow toilets, use 1.28 gallons per flush or less. Consider replacing your old toilet with a newer, more efficient model.
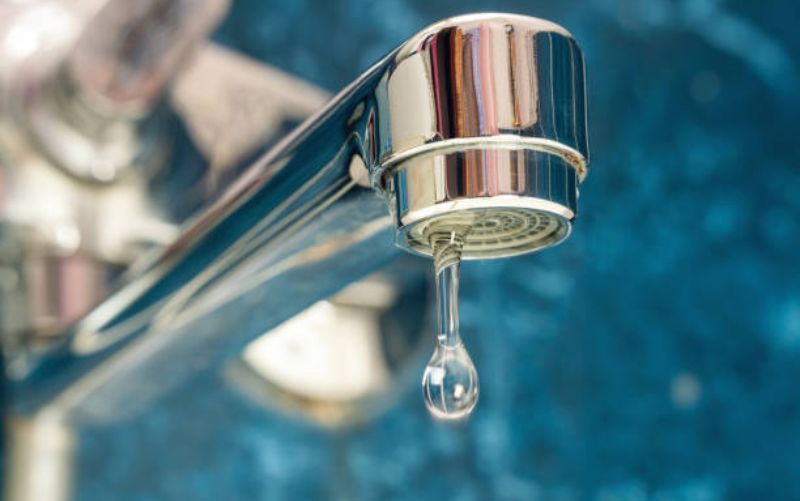
2.3 Faucet Aerators
Attached to the end of your faucets, faucet aerators are small devices. They mix air with the water flow, reducing water usage while maintaining pressure. They are an inexpensive and easy way to save water.
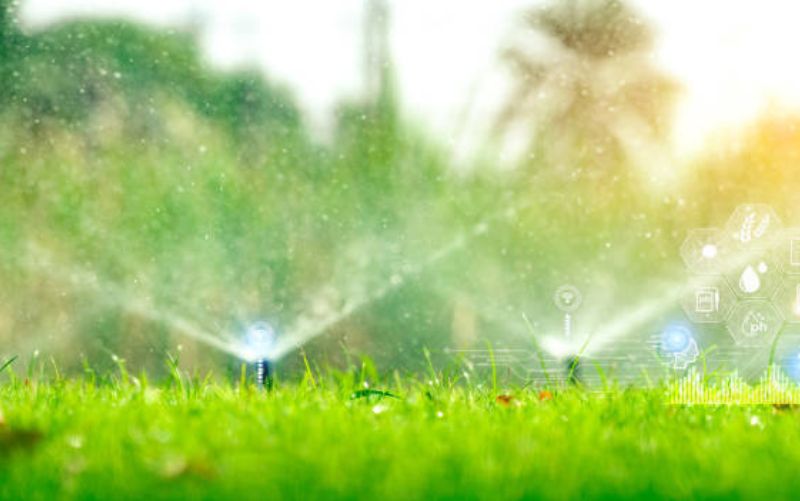
2.4 Smart Irrigation Systems
If you have a garden or lawn, a smart irrigation system can significantly reduce water wastage. These systems adjust watering schedules based on weather conditions and soil moisture levels.
3. Plan Your Installation
3.1 Gather Necessary Tools and Materials
Make sure you have all the necessary equipment and supplies before beginning the installation process. This may include wrenches, screwdrivers, plumber’s tape, and the water-saving devices themselves.
3.2 Read the Instructions
Each water-saving device comes with its own set of installation instructions. Read these carefully to ensure proper installation and to avoid potential issues.
4. Installing Low-Flow Showerheads
4.1 Remove the Old Showerhead
Turn off the water supply and use a wrench to remove the old showerhead. Make sure to place a cloth around the fixture to avoid scratching.
4.2 Install the New Showerhead
Wrap plumber’s tape around the threads of the shower arm to ensure a tight seal. Screw the new low-flow showerhead onto the arm and tighten it with your hands. Turn on the water to check for leaks and adjust as needed.
5. Upgrading to Water-Efficient Toilets
5.1 Turn Off the Water Supply
Before replacing your old toilet, turn off the water supply and flush the toilet to empty the tank. Disconnect the water supply line from the tank.
5.2 Remove the Old Toilet
Remove the bolts holding the toilet to the ground and gently raise it out of the way. Clean the area and remove any old wax rings.
5.3 Install the New Toilet
Position the new toilet over the bolts and press it down gently. The supplied nuts and bolts will hold it in place. After reconnecting the water supply line, reactivate the water supply. Check for leaks and make any required corrections.
6. Adding Faucet Aerators
6.1 Remove Existing Aerators
If your faucets already have aerators, remove them by twisting counterclockwise. Use a pair of pliers if they are stuck.
6.2 Install New Aerators
Screw the new aerators onto the faucet spouts. Tighten them by hand and ensure they are secure. Turn on the water to check the flow and make sure there are no leaks.
7. Setting Up Smart Irrigation Systems
7.1 Install the Controller
Mount the smart irrigation controller in a convenient location. Connect it to your home’s Wi-Fi network and follow the manufacturer’s setup instructions.
7.2 Attach Sprinkler Heads
Replace old sprinkler heads with water-efficient models, if necessary. Connect them to the irrigation system and adjust their settings based on the manufacturer’s recommendations.
7.3 Program the System
Set up watering schedules and adjust them according to weather conditions. Maintain optimal system performance by routinely updating and monitoring the system.
8. Regular Maintenance and Monitoring
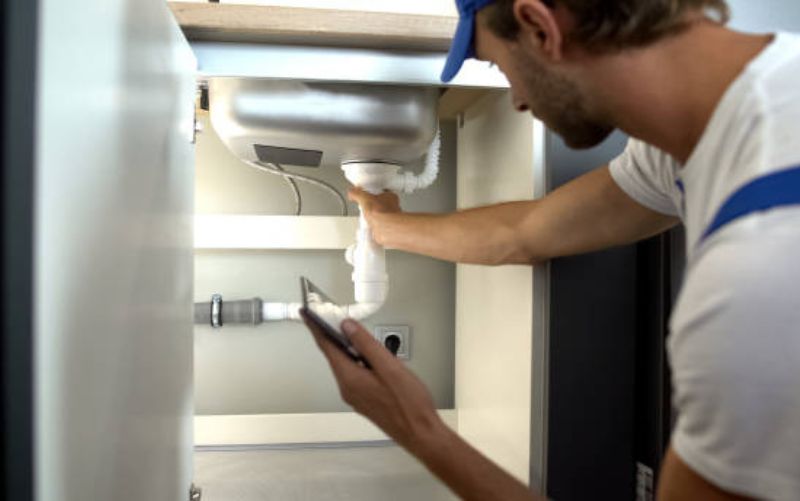
8.1 Check for Leaks
Periodically check all installed water-saving devices for leaks or malfunctions. To keep efficiency, take quick action to resolve any problems.
8.2 Monitor Water Usage
Track your water consumption to gauge the effectiveness of the devices. Adjust your usage habits if needed to maximize savings.
9. Consider Additional Water-Saving Measures

9.1 Install a Water Heater Timer
A water heater timer can help reduce energy consumption by ensuring your water heater only operates when needed. This can complement your water-saving devices by further lowering utility bills.
9.2 Use Water-Saving Appliances
Consider upgrading to water-saving dishwashers and washing machines. These appliances use less water and are often more efficient.
10. Educate Your Household
10.1 Promote Water Conservation Practices
Educate everyone in your household about the importance of water conservation. Encourage practices such as shorter showers, turning off the tap while brushing teeth, and fixing leaks promptly.
10.2 Set an Example
Lead by example and consistently use water-saving devices and practices. Your commitment will inspire others in your home to follow suit.
Conclusion
Installing water-saving devices in your home is a smart investment for both your wallet and the environment. By following these tips, you can effectively reduce your water consumption and contribute to a more sustainable future. Remember, every drop counts, and small changes can lead to significant savings.